The series contains following parts:
- Part 1: Preparing the environment
- Part 2: Renewing and installing the ABAP Trial License
- Part 3: Configure the SAP System
- Part 4: Configure the SAP Master Data
Please do note that this setup is a setup that is created for a development/playground environment, this guide is not intended to give best practices or a production ready setup.
If you require any assistance or if you might have questions, don’t hesitate to put them in the comment section of this blog or give me a ping through twitter or email.
In this third part I will guide you through all the necessary configuration steps that are necessary to prepare your SAP environment for external communication through RFC and IDOC’s.
All these steps are executed inside the SAP environment so you might want to check out following blogpost (SAP Transactions) that gives you a basic overview of the SAP Interface.
Be aware the first time you execute a certain transaction on the new SAP system it takes some time to load, so you will require some patience.
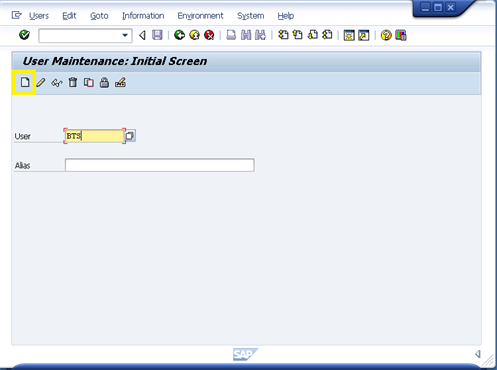
Create a User (SU01)
Start SAP Transaction SU01.
In the User field type the name of the new user and click the Create button in the top left corner.
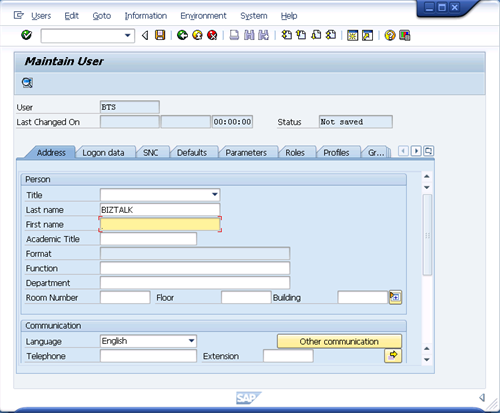
In the Address tab fill in the necessary data.
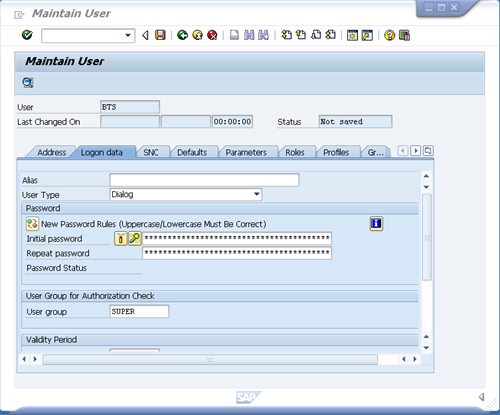
Navigate to the Logon data tab and fill in the password for this user.
In the Profiles tab assign SAP_ALL and SAP_NEW as profiles for this user.
After that press save and exit the SAP system. Now login with the new created user.
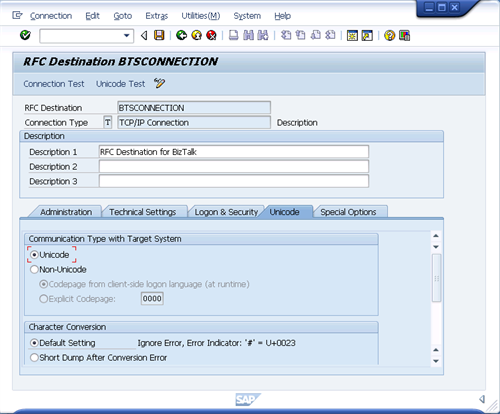
Create an RFC Connection (SM59)
Start SAP Transaction SM59.
Select the TCP/IP connections folder and click the Create button in the top left corner.
Provide a name for the RFC Destination (BTSCONNECTION) and give it an appropriate description.
Set the Activation Type to Registered Server Program and fill in the Program ID.
In the Unicode tab set the Communication Type to Unicode.
Create the Transactional RFC Port (WE21)
Start SAP Transaction WE21.
Select the Transactional RFC folder and click the Create button in the top left corner.
Fill in an appropriate Port Name.
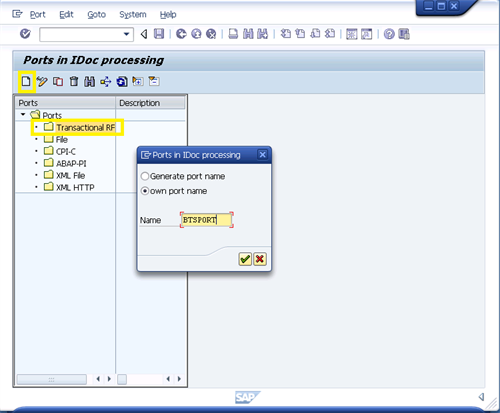
Fill in the RFC Destination created in the previous step and click the Save button.

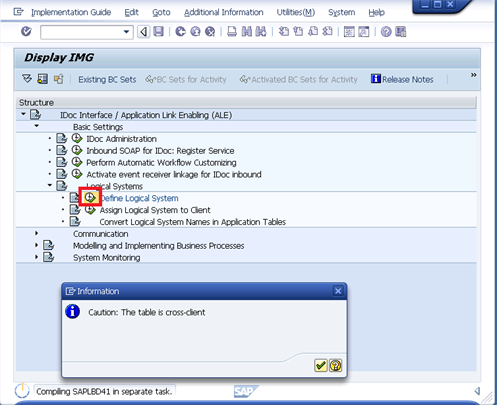
Create a Logical System (SALE)
Start SAP Transaction SALE.
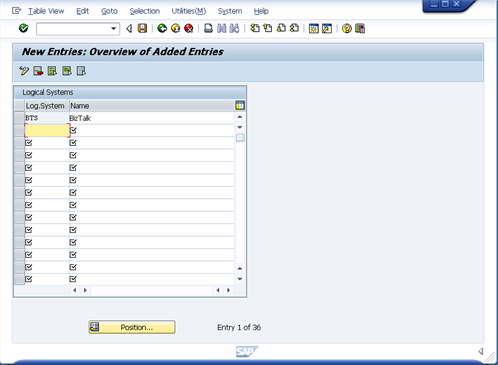
Select the Define Logical System and click the Create button. Accept the cross-client warning.
Fill in an appropriate name and click save.
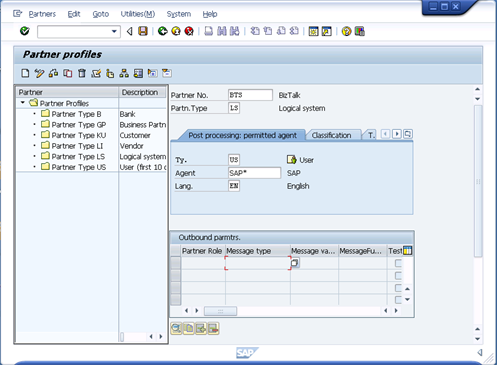
Create the Partner Profile (WE20)
Start SAP Transaction WE20.
Select the Partner Type LS folder and click the Create button in the top left corner.
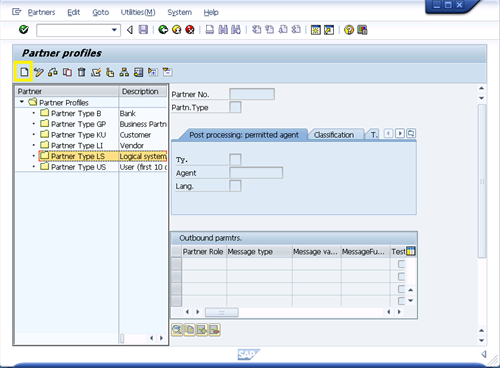
Fill in SAP* as the Agent.
Assign the Local System to the Client (SCC4)
Start SAP Transaction SCC4.
Select the Client 000 and click the Modify button in the top left corner. Accept the cross-client warning.
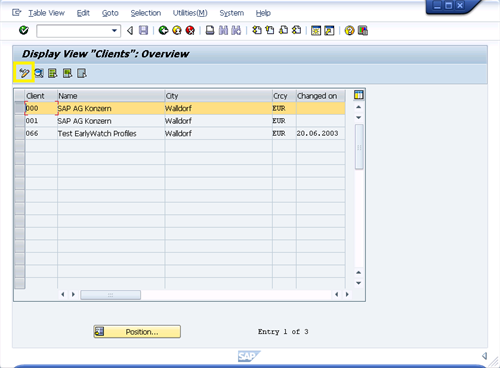
Change the Logical System to the logical system created in previous step.
Click Save to confirm.

Congratulations if you made it this far. You have successfully installed and configured your SAP system for external communication. However the current state of your SAP instance is still an empty box. In the next post of these series I will show you how to generate and insert the Master Data in SAP.
Stay tuned!
Cheers,
Glenn Colpaert
Subscribe to our RSS feed