There are several options for data storage in Azure, each with a specific goal. For data analytics -especially with Azure Data Lake Analytics- Azure Data Lake Store is the “de facto”.
The StackExchange data is made available on Archive.org as zip-files. We will use an Azure VM to download it from the website, unzip every folder and upload it to the Store. Let us start!

Why do we use Azure Data Lake Store over Azure Blob Storage?
Before we start you might ask why we are using Azure Data Lake Store over Azure Blob Storage?
The reason is very simple – We are planning to store a decent amount of data and perform analytics on it with Azure Data Lake Analytics.
While Azure Blob Storage can be used with Azure Data Lake Analytics, it is recommended to use Azure Data Lake Store instead. The service is built for running analytical workloads on top of it and is designed to scale along with its load.
Azure Data Lake Store also offers unlimited storage without any limits on file or account level while this isn’t the case for Azure Storage.
However – Storing all your data in Azure Blob Storage will be a lot cheaper than storing it in Azure Data Lake, even when you are using Read-Access Geographically Redundant Storage (RA-GRS).
These are only some of the differences they have. They also differ in different topics regarding access control, encryption, etc.
To summarize – There is no silver bullet. It basically depends on what your scenario is and how big the data is you want to store. My suggestion is that if you’ll do big data processing in Azure, you should use Azure Data Lake Store!
If for some reason you decide that the store you’ve picked doesn’t fit your needs, you can still move it with tools like Azure Data Factory or PowerShell.
Note – During the public preview of Azure Data Lake Store it will be cheaper but keep in mind that this is at 50% of the GA pricing.
Preparing our environment
For this phase we’ll need to provision two resources: A new Azure Data Lake Store account & an Azure VM in the same region.
But do I really need an Azure VM?
Benefits of using an Azure VM
It is also possible to do everything locally but I personally recommend using a VM because we can let it run overnight more easily and will be faster.
It allows us to download a file of 28 GB in the Azure datacenter, unzip 250+ folders overnight and upload 150 GB to the Store. This means that we will only pay for 28 GB of ingress instead of 150 GB, however you need to take into account that you need to pay for your VM.
You will only benefit from this if the resources are allocated within the same region, otherwise Azure will charge you for 150 GB of egress & ingress.
Provisioning a new Data Lake Store
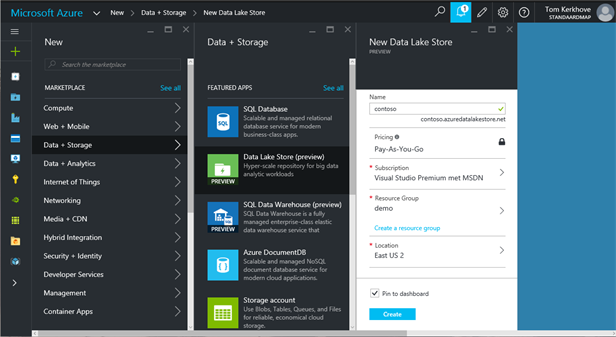
To provision a Data Lake Store resource, browse to the Azure portal and click on ‘New > Data + Storage > Data Lake Store (Preview)’.
Give it a self-describing name, assign a resources and location and click ‘Create’.
After a couple of minutes, the Store will be created and you should see something similar to this.
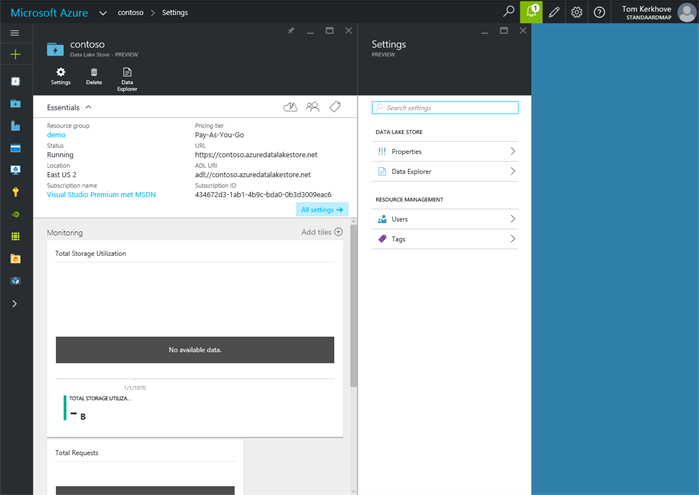
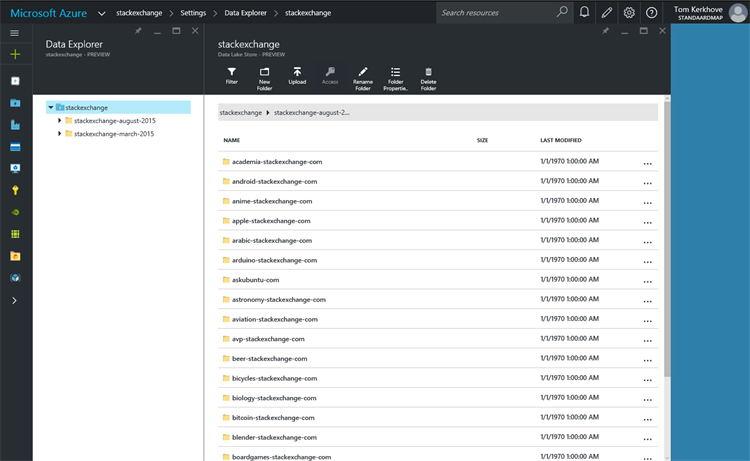
As you can see it includes monitoring on the total storage utilization, has a special ADL URI to point to your account and has a Data Explorer. The latter allows you to navigate and browse through your data that is stored in your account.
At the end of this article you should be able to navigate through all the contents of the data dump.
Provisioning & configuring a VM
Last but not least, we’ll provision a new Azure VM in which we will download, unzip & upload all the data.
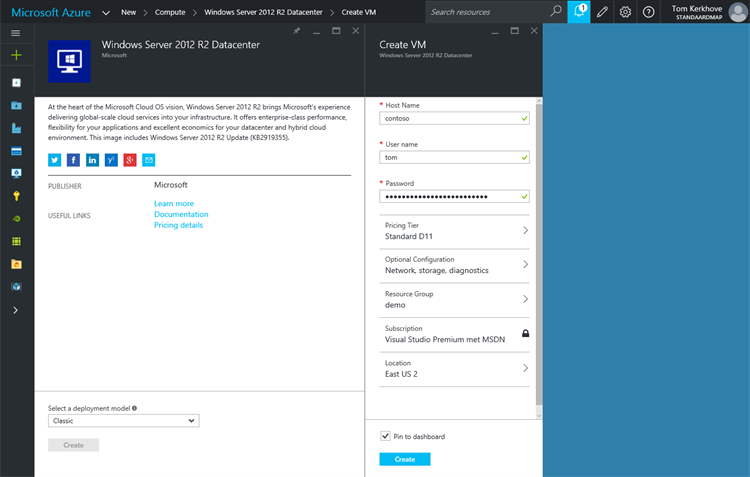
In the Azure Portal, click ‘New > Compute’ and select a Windows Server template of your choice. Here I’m using the ‘Windows Server 2012 R2 Datacenter’ template.
Assign a decent host name, user name & solid password and click ‘Create’.
We will also add an additional data disk to the VM on which we will store the unzipped data as the default disk is too small.
To do so, navigate to the VM we’ve just provisioned and open the ‘Settings’ blade.
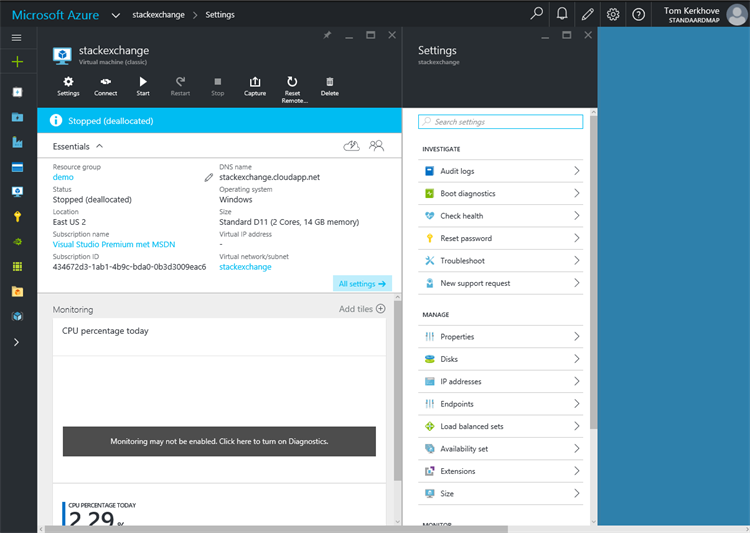
Select ‘Disks’, click on ‘Attach New’ and give it a decent name.
We don’t need to increase the default value as 1024 GB is more than enough.
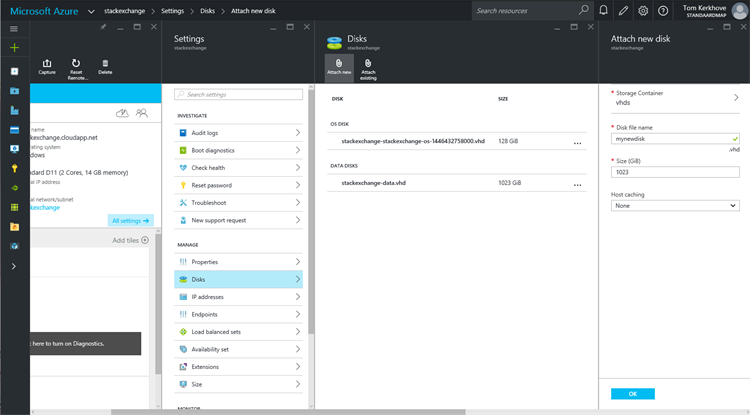
Once the disk is added it will show up in the overview. Here you can see my stackexchange-data.vhd data disk.
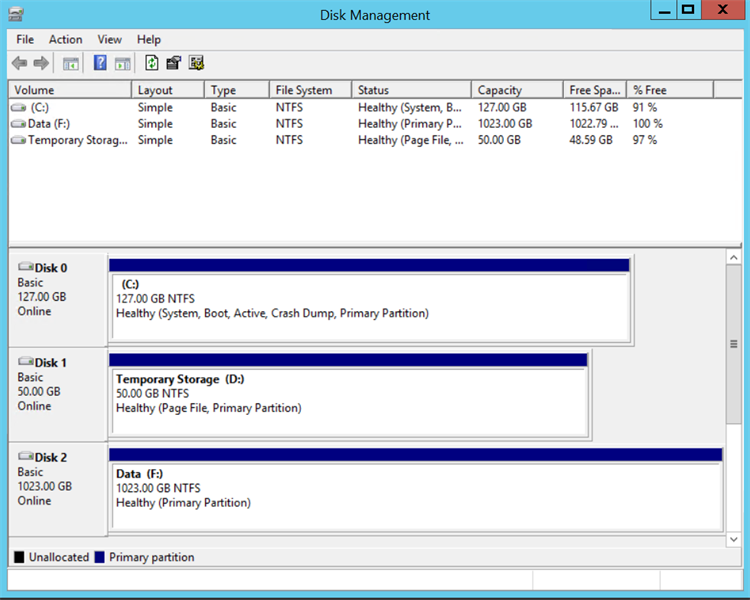
Now that the disk is added we can connect to the machine and prepare it by formatting the disk and giving it a decent name.
Now that we have a Data Lake Store account and a VM to handle the data we are ready to handle the data set.
Retrieving the StackExchange data
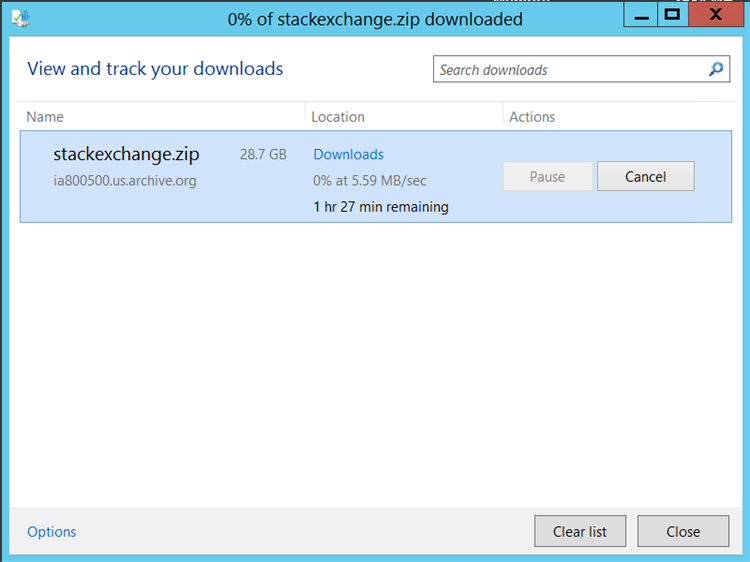
StackExchange has made some of their data available on archive.org allowing you to download insight about all their websites.
The websites provide you several options for downloading everything going from a torrent to individual zips to one large zip.
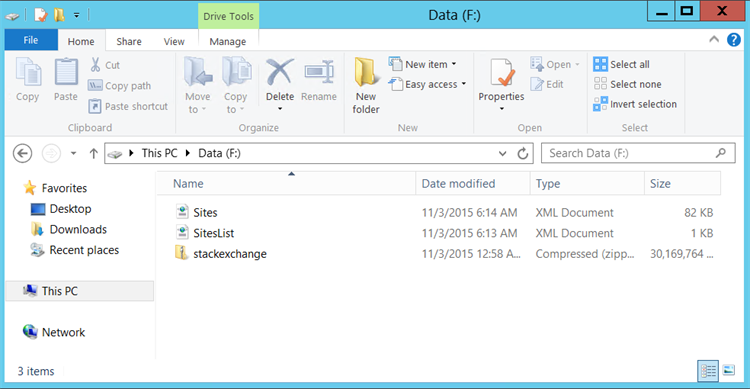
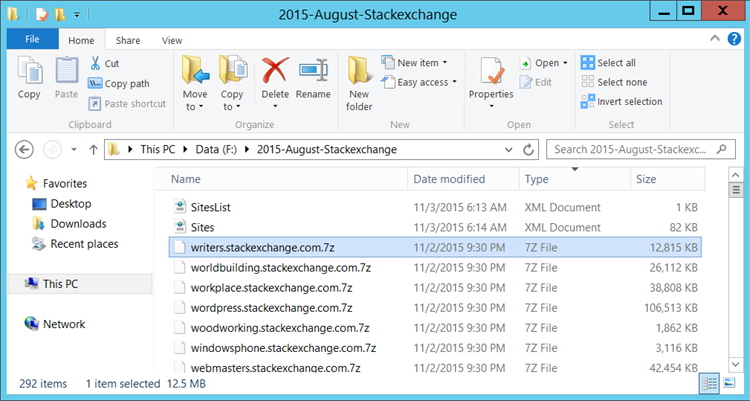
I personally downloaded everything in one zip and two additional files – Sites.xml & SitesList.xml.
As we can see I’ve stored all the information on the new data disk that we have added to the VM.
Extracting the data
Time to unzip the large files into individual zip files per website, to do so you can use tools such as 7-Zip.
Once it’s done it should look similar like this.
Next up – Unzipping all the individual websites. It is recommended to select all the zip-files, unzip them at once.
Grab a couple of coffees because it will take a while.
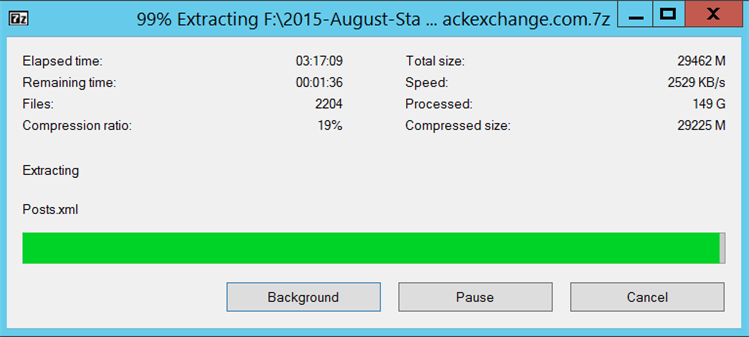
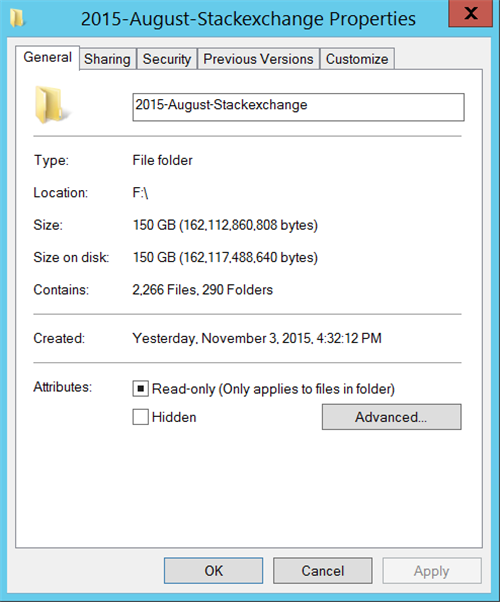
You should have around 150 GBs of data excl. the zip-files.
So what kind of data do we have?!
Looking at the data
Now that we have unwrapped all the data we can have a look at what data is included in the data dump.
As mentioned before, the zip contains a folder for each website by StackExchange, incl. all the meta-websites.
Each folder gives your more information about all the relevant data for that specific website going from users & posts to comments and votes and beyond.
Here is all the data included that is included for coffee-stackexchange-com in this example:
+ coffee-stackexchange-com
– Badges.xml
– Comments.xml
– PostHistory.xml
– PostLinks.xml
– Posts.xml
– Tags.xml
– Users.xml
– Votes.xml
However, there is one exception – Since StackOverflow is so popular, there is a lot more data and thus bigger files. Because of this they have separated each file across a dedicated folder per file.
Here is an overview of how the data is structured:
+ stackapps-com
– Badges.xml
– …
– Votes.xml
+ stackoverflow-com-badges
– Badges.xml
+ stackoverflow-com-…
+ stackoverflow-com-votes
– Votes.xml
+ startups-stackexchange-com
– Badges.xml
– …
– Votes.xml
With that structure in mind, let’s have a look at how we can upload the data to Azure.
Uploading to Azure with PowerShell
In order to upload all the data, it would be a good thing to automate the process, luckily Azure provides a lot of PowerShell cmdlets that allow you to automate your processes.
For our scenario I’ve created a script called ImportStackExchangeToAzureDataLakeStore.ps1 that will loop over all the extracted folders & upload all its files to a new directory in Azure Data Lake Store.
Although it’s a simple script I’ll walk you through some of the interesting commands that are used in the script.
In order to interact with Azure Data Lake Store from within PowerShell we need to use the Azure Resource Manager (Rm) cmdlets.
To do so we first need to authenticate, assign the subscription we want to use and register the Data Lake Store provider.
# Log in to your Azure account
Login-AzureRmAccount
# Select a subscription
Set-AzureRmContext -SubscriptionId $SubscriptionId
# Register for Azure Data Lake Store
Register-AzureRmResourceProvider -ProviderNamespace “Microsoft.DataLakeStore”
With Test-AzureRmDataLakeStoreItem-command we can check if a specific path already exists in the account, i.e. a folder or file.
$FolderExists = Test-AzureRmDataLakeStoreItem -AccountName $DataLakeStoreAccountName -Path $DataLakeStoreRootLocation
If the specified would not exist, we could create it in the store with the New-AzureRmDataLakeStoreItem-command.
New-AzureRmDataLakeStoreItem -AccountName $DataLakeStoreAccountName -Folder $DestinationFolder
In our scenario we combine these two commands to check if the folder per website, i.e. coffee-stackexchange-com, already exists. If this is not the case, we will create it before we start uploading the *.xml-files to it.
Uploading is just as easy as calling the Import-AzureRmDataLakeStoreItem with the local path to the file telling it where to save it in the store.
Import-AzureRmDataLakeStoreItem -AccountName $DataLakeStoreAccountName -Path $FullFile -Destination $FullDestination
That’s it, that’s how easy it is to interact with Azure Data Lake Store from PowerShell!
To start it we simply call the function and pass in some metadata: What subscription we want to use and what the name of the Data Lake Store account is, where we want to upload it and where our extracted data is located.
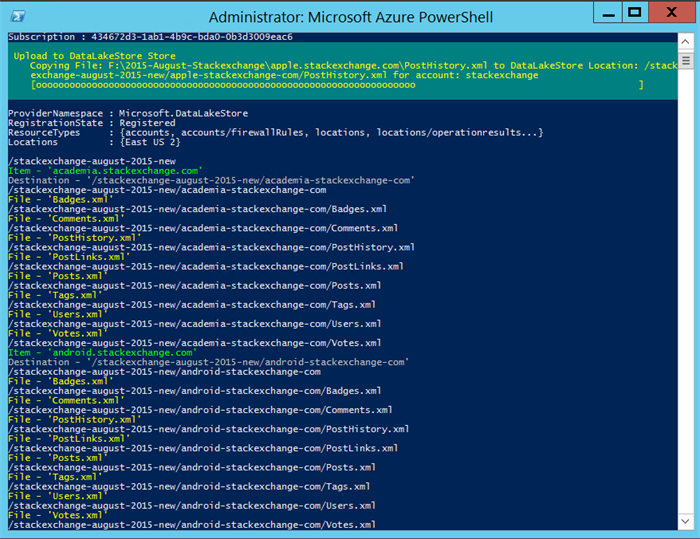
C:Demos > Import-StackExchangeToAzureDataLakeStore -DataLakeStoreAccountName ‘codito’ -DataLakeStoreRootLocation ‘/stackexchange-august-2015’ -DumpLocation ‘F:2015-August-Stackexchange’ -SubscriptionId ‘<sub-id>’
While it’s running you should see how it is going through all the folders and uploading the files to Azure Data Lake.
Once the script is done we can browse through all our data in the Azure portal by using the Data Explorer.
Alternatively you could also update it to Azure Blob Storage with ImportStackExchangeToAzureBlobStorage.ps1.
Conclusion
We’ve seen how we can provision an Azure Data Lake Store and how we could use an infrastructure in Azure to download, unzip and upload the StackExchange data to it. Also we’ve had a look at how the dump is structured and what data it contains.
I’ve made my scripts available on GitHub so you can test it out yourself!
Don’t forget to turn off your VM afterwards…
In a next blog post we will see how we can aggregate all the Users.xml data in one CSV file by Azure Data Analytics and writing one U-SQL script. This will allow us to analyze the data later one before we visualize it.
If you have any questions or suggestions, feel free to write a comment below.
Thanks for your time ,
Tom.
Subscribe to our RSS feed