In case you try to access the Azure Service Management API, without any specific authorization, you’ll get the following exception: ‘Authentication failed. The ‘Authorization’ header is missing’.
There are two main ways to authenticate with Azure: using your own Microsoft account or using a Service Principal. Let’s have a closer look!
Authenticate with Microsoft account
Use ARMClient
- Download ARMClient over here.
- Open Command Prompt or PowerShell.
- Run the following command: ARMClient.exe login
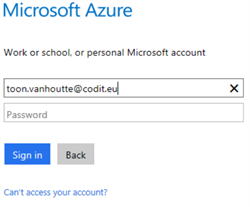
- Provide your credentials.
- Copy the token to the clipboard, via this command:
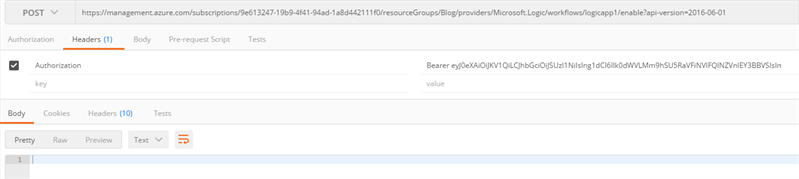
- In Postman, add an Authorization header to your HTTP request. As a value, provide ‘Bearer’, followed by a space and then the token from the clipboard. Send your request and it should work fine!
Use Fiddler
- Download Fiddler over here.
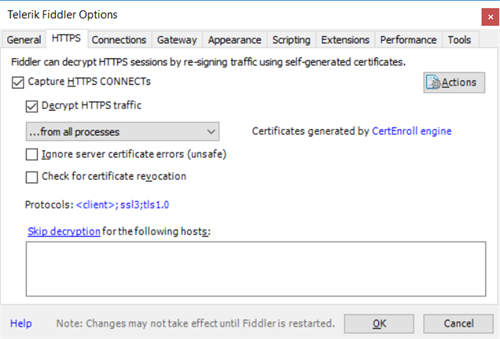
- Ensure you configure Fiddler to Decrypt HTTPS traffic.
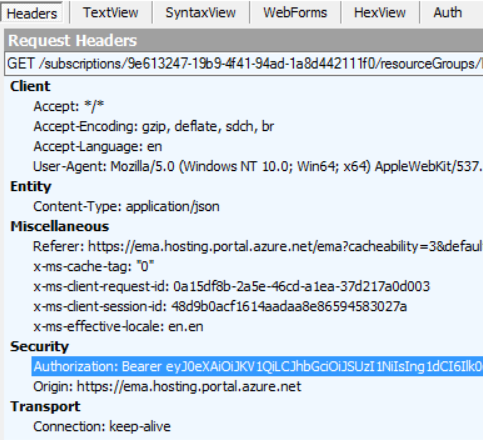
- Perform a request in the Azure portal and find it back in Fiddler.

- Copy the bearer token from the HTTP security header.
- In Postman, add an Authorization header to your HTTP request. As a value, provide the copied bearer token, including the ‘Bearer’. Send your request and you should get access!
Authenticate with Service Principal
Setup a Service Principal
Create an Active Directory application (Service Principal) that represents your Postman instance.
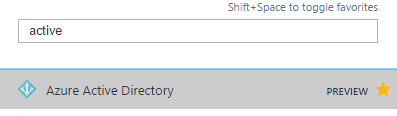
- Open the Active Directory blade.
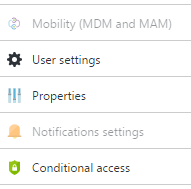
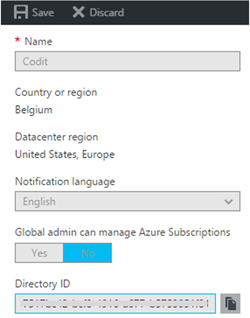
- Go to the Properties tab.
- Select the Directory ID, you will need it later as the Tenant ID.
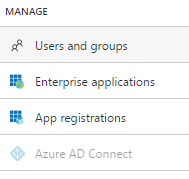
- Go to the App Registrations tab.
- Click Add.

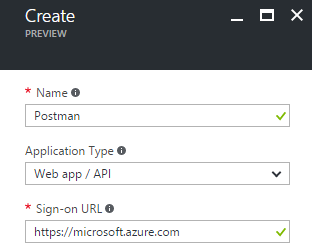
- Provide a meaningful name, select Web app / API as the application type and provide just a dummy, but valid URL. Click Create.
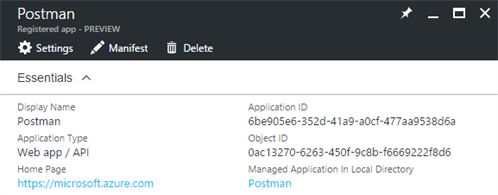
- Copy the Application ID, you will need it later as the Client ID.
- Go to the Keys tab
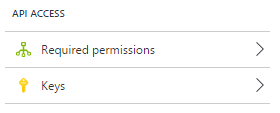
- Provide a Description and choose the Expiration Setting. Click Save.

- Copy the Value, you will need it later as the Client Secret.
Permissions can be configured at any level: subscription, resource group or resource. They get inherited be default to the lower level, so having specific rights on a resources group applies also to all resources underneath. Just navigate to the desired blade, which is in our case the Logic App itself.
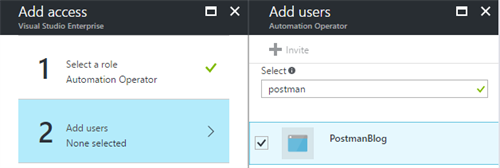
- Go to the Access Control (IAM) tab.

- Give a specific access role to the service principal you just created.
Use ARMClient
- Download ARMClient over here.
- Open Command Prompt or PowerShell.
- Run the following command, <placeholders> must be replaced by the values collected above:
- Copy the token to the clipboard, via this command:
- In Postman, add an Authorization header to your HTTP request. As a value, provide ‘Bearer’, followed by a space and then the token from the clipboard. Send your request and you should be good to go!
Conclusion
It’s quite simple to authenticate Postman against the Azure API’s. You can include these authorization headers as presets, but keep in mind that bearer tokens have an expiration time.
Hope this was interesting! Let me know if you have easier ways to authenticate Postman against Azure API’s!
Toon
Subscribe to our RSS feed