Create Active Directory application
Before an Azure AD tenant will allow an application to access the resources it is securing, a service principal must be created in the given tenant. The service principal provides the basis for Azure AD to secure the application’s access to resources owned by users from that tenant.
Let’s start with registering an application in Active Directory and a corresponding service principal.
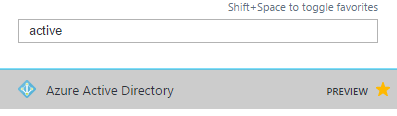
- Open the Active Directory blade.
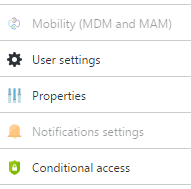
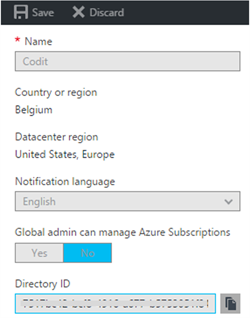
- Go to the Properties tab.
- Select the Directory ID, you will need it later as the Tenant ID.
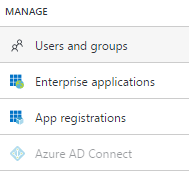
- Go to the App Registrations tab.
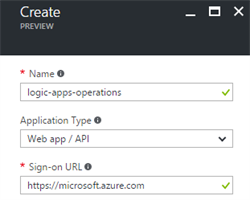
- Click Add.

- Provide a meaningful name, select Web app / API as the application type and provide just a dummy, but valid URL. Click Create.
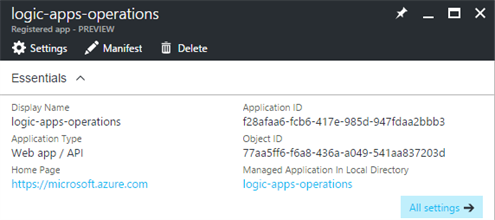
- Copy the Application ID, you will need it later as the OAuth Client ID.
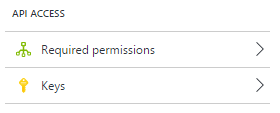
- Go to the Keys tab
- Provide a Description and choose the Expiration Setting. Click Save.

- Copy the Value, you will need it later as the OAuth Client Secret.
Assign the right permissions
Permissions can be configured at any level: subscription, resource group or resource. They get inherited by default to the lower level, so having specific rights on a resources group applies also to all resources underneath. Just navigate to the desired blade, which is in our case the Logic App itself.
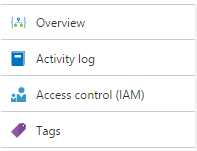
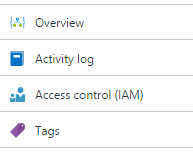
- Go to the Access Control (IAM) tab.
- Click Add.

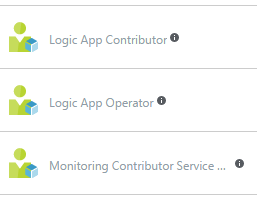
- First select a role. Take the Logic App Operator, as this allows you to read, enable and disable the Logic App.
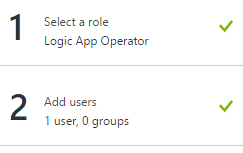
- In the Add Users blade, search now for the AD application that you just created. Click Select.
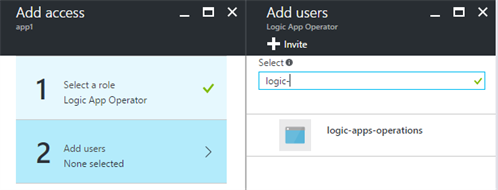
- Click now OK.
Compare scheduling services
In this section, I briefly compare three Azure services that allows scheduling.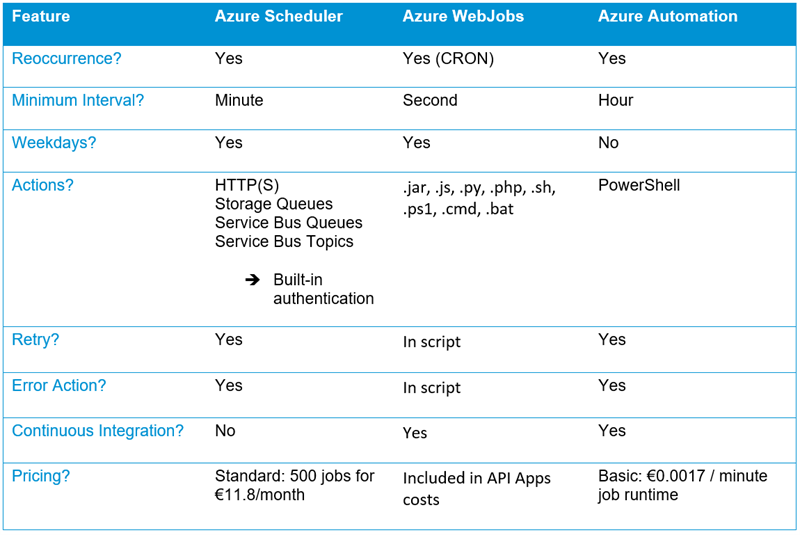
For the sake of this blog post, I prefer to go for Azure Scheduler, as it allows me to meet the expectations without writing any code. If you need to deal with scheduling many Logic Apps, I’d rather look into creating a script that auto-discovers all Logic Apps inside my resource group and enables/disables them all in one go via Azure WebJobs or Automation. If you want to go that way, this simple script can be a starting point:
Azure Scheduler
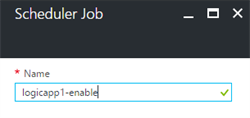
- Add Azure Scheduler to your resource group and click Create.

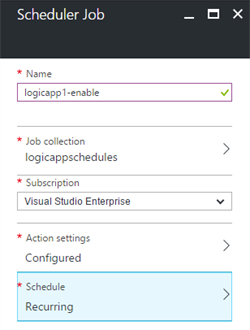
- Provide ‘logicapp1-enable’ as the Job Name.
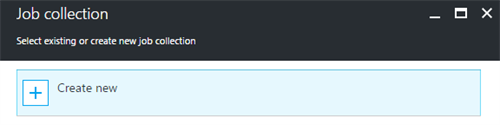
- Click Configure Job Collection and select Create New.
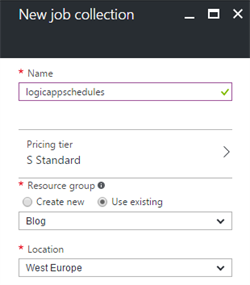
- Type ‘logicappschedules’ as the Name, choose the appropriate Pricing Tier, select an existing Resource Group and the desired Location. Click OK.
- Click Configure Action Settings and provide the following information. The URL is derived from the Logic Apps Workflow Management API documentation.
>Action: Https
>Method: Post
>URL: https://management.azure.com//subscriptions/{subscriptionId}/resourceGroups/
{resourceGroupName} /providers/Microsoft.Logic/workflows/{workflowName}/
enable?api-version=2016-06-01
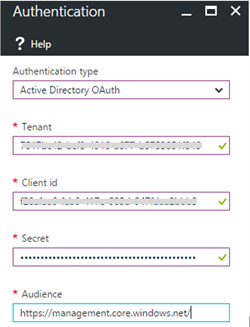
- Click Configure Authentication Settings and select Active Directory OAuth as the Authentication Type. Provide the ID’s that you collected from the previous steps: Tenant ID, Client ID and Client Secret. Click OK twice.
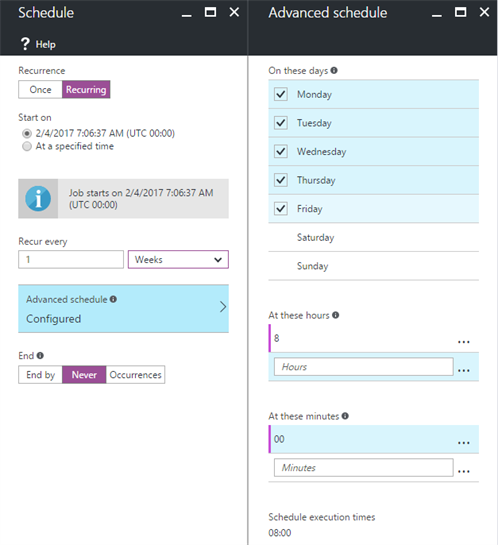
- Click Configure Schedule and configure the schedule to run every weekday at 8:00. Click OK twice.
- Click Create.
- Ensure the Logic App is disabled. Browse now to the created scheduler job and click Run Now to give it a try.

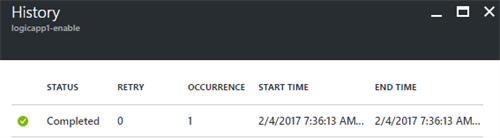
- Consult the History tab to see the outcome of the job execution.
- Hopefully you see now a successful job history.
- You can now repeat the previous steps to schedule the Logic App to disable every weekday at 18:00.
Check Audit Trail
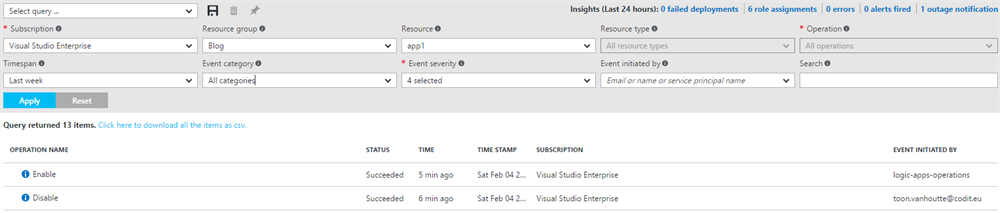
- Browse now to the Activity Log of the Logic App.
- You can see that I manually disabled the Logic App and that the Enable operation was executed by the created application identity. Nice visibility!
Feedback to the product team
The documentation can be improved on this subject. I took me a while to figure out the correct URL, as the documentation already provides a part of it. The authentication procedure was also not very clear to me, but via very quick assistance by the product team on Twitter, I got this sample running in 5 minutes!
It would be nice to have a service window available on every Logic App, so you can schedule it to get automatically enabled/disabled. A similar user experience as in Azure Scheduler or the CRON expressions from Azure WebJobs would be nice. Are you in favor of this idea? Vote here!
Conclusion
You can always rely on other Azure services, in case Logic Apps does not provide the functionality out-of-the-box. This was a very user-friendly experience of scheduling a Logic App without writing a single line of code!
Hope this post can save you some time and money!
Cheers,
Toon
Subscribe to our RSS feed