The series contains following parts:
- Part 1: Preparing the environment
- Part 2: Renewing and installing the ABAP Trial License
- Part 3: Configure the SAP System
- Part 4: Configure the SAP Master Data
Please do note that this setup is a setup that is created for a development/playground environment, this guide is not intended to give best practices or a production ready setup.
If you require any assistance or if you might have questions, don’t hesitate to put them in the comment section of this blog or give me a ping through twitter or email.
In this fourth and last part I will show you how you can insert master data in your SAP system. This master data can then be used to exchange data with any external system.
All these steps are executed inside the SAP environment so you might want to check out following blogpost (SAP Transactions) that gives you a basic overview of the SAP Interface.
Be aware the first time you execute a certain transaction on the new SAP system it takes some time to load, so you will require some patience.
Add the Flight Data Application
The flight data application provides a certain amount of business processes that can be used in the SAP System. More information can be found here.
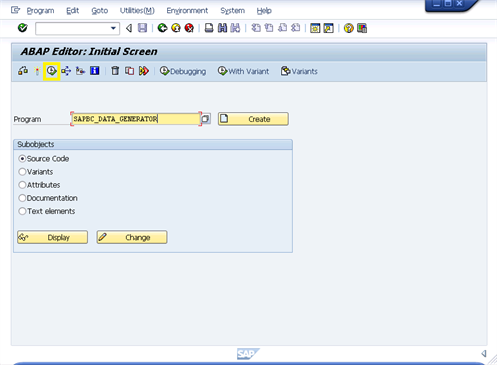
Start SAP Transaction SE38.
In the Program field type SAPBC_DATA_GENERATOR and click the Execute button in the top left corner.
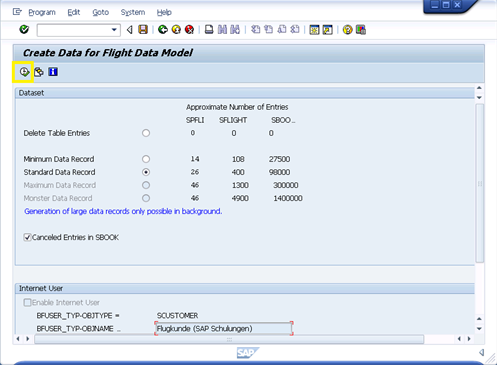
Click the Execute button in the top left corner to start the import of the data.
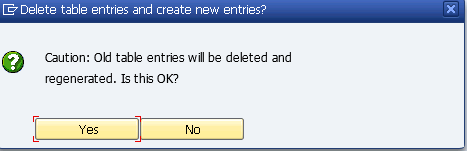
Click Yes to confirm deletion of the Old table entries.
Wait for the program to complete, this might take a couple of minutes.
![]()
Add the Flight Customer IDOC Data
The flight customer IDOC data is a standard ABAP report available within the SAP System.
Start SAP Transaction SE38.
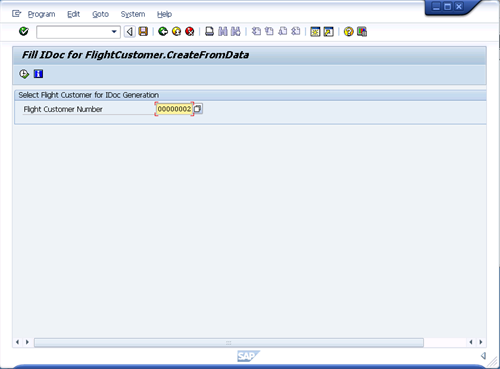
In the Program field type SAPBC_FILL_FLCUST_IDOC and click the Execute button in the top left corner.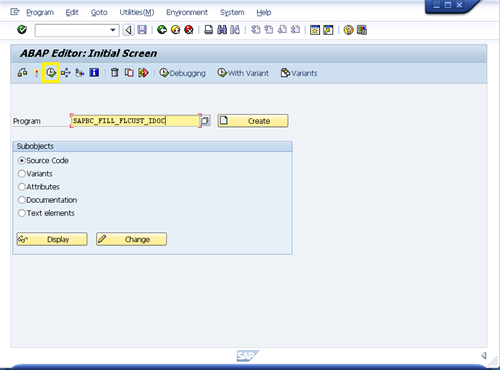
Fill in the Customer Number, this will assign the ABAP report to that specific customer.
Click the Execute button in the top left corner to start the import of the data.
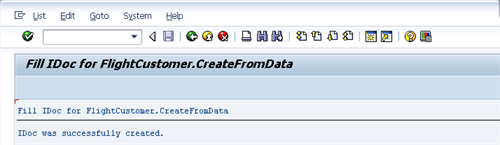
Following confirmation will confirm that the IDOC was successfully created.
Test the Flight Data
You can test these flight data through the normal SAP Transactions like SE37 for RFC testing and Transaction WE19 for IDOC testing.
Your system is now ready to start processing IDOC’s and BAPI calls. There is tons of information out there to setup and configure your BizTalk system to communicate with SAP, so now you can actually start building that part and start building some nice interfaces with SAP.
Thank you for taking the time to read all the blogposts in this series. If you have questions do not hesitate to contact me.
Cheers,
Glenn Colpaert
Subscribe to our RSS feed